
How to Break In New Wrestling Shoes and Avoid Blisters

New wrestling shoes are stiff by design. Suede and mesh uppers, dense gum outsoles and unshaped heel counters all need heat, sweat and repetition before they mold to your foot. The wrestlers who end up with raw heels are almost always the ones who wore a brand-new pair to a full live practice on day one. Here's the plan we give every wrestler in our room, plus exactly what to do the moment a hotspot appears.
Start with the right size — break-in can't fix a bad fit
Break-in softens materials; it does not create length or width. A wrestling shoe should feel snug like a sock with your longest toe about a fingernail's width from the end and zero heel lift. If your foot slides forward on a sprawl or your toes curl against the front, the shoe is wrong and no amount of wearing it in will help. Wide feet should start in a roomier last rather than trying to stretch a narrow one.
Practice 1–2: house time and warm-ups only
Wear the new pair for two 30-minute sessions at home on carpet, in the exact socks you wrestle in. Then take them to practice for jog, dynamic stretching and stance-and-motion only, and change into your old pair for drilling and live. Low load, real heat — that's what shapes the upper without shredding your skin.
Practice 3–5: drilling at 60–70%
Now drill in them: shots, sprawls, stand-ups, hand fighting. Keep the intensity moderate and stop after 20–30 minutes if anything feels hot. Between sessions, leave the shoes unlaced and open so they dry fully — damp lining is the single biggest cause of friction blisters.
Practice 6+: full live wrestling
By the second week the upper creases where your foot flexes, the outsole has scuffed enough to bite the mat, and the heel counter has taken the shape of your heel. That's the point where the shoe is competition-ready. Keep them for the mat only — a single walk across a parking lot glazes the rubber and kills grip.
Why blisters actually happen
Blisters come from shear, not pressure. Skin sticks to a damp sock while the bone underneath keeps moving, the layers separate, and fluid fills the gap. That means the three levers you control are moisture, movement and friction: dry feet, a locked-down heel, and a smooth low-friction surface between skin and shoe.
Sock strategy that works
Two thin synthetic or wool-blend socks beat one thick cotton sock: the layers slide against each other instead of against your skin. Cotton holds sweat and turns into sandpaper by the second period. Bring a dry spare pair to every practice and change at the halfway point during break-in week.
Tape the hotspot before it becomes a blister
The moment you feel warmth or rubbing, stop and cover it. Kinesiology tape, moleskin or a strip of athletic tape over a dab of petroleum jelly all work. Taping after the blister forms only manages damage; taping at the hotspot stage prevents it entirely. Common spots are the back of the heel, the outside edge of the big toe and the top of the instep.
Lace it so the heel can't move
Most heel blisters are a lockdown problem. Use a heel-lock loop at the top two eyelets — run each lace straight up into the top eyelet on the same side, thread the opposite lace through the loop, then pull down and out. If the pain is on top of your foot instead, skip the eyelet row over the sore spot and lace straight up that row. Full detail is in our lacing guide.
If you already have a blister
Leave intact blisters unbroken and cover them with a hydrocolloid pad; the roof is the best bandage you have. If it has torn open, clean it, apply antibiotic ointment and cover it before every practice — mats are shared surfaces and open skin is how staph and ringworm get in. Never wrestle with a weeping blister uncovered.
What not to do
Do not soak your shoes in hot water, run them through a dryer, or wear them on concrete to 'wear them down'. Water breaks down the adhesives, heat warps the sole, and pavement glazes the gum rubber you paid for. Slow break-in through practice is the only method that keeps the grip intact.
How to tell they're broken in
The upper creases naturally when you point your toe, the tongue stays centered without adjusting mid-match, the heel stays planted through a sprawl, and you stop thinking about your feet. That's the finish line — usually 6 to 10 practices for most models, a little longer for stiff single-sole competition shoes.
Shoes featured in this post
- ASICS JB Elite IV — Red— Suede upper, molds fast
- Adidas Combat Speed 5 — Grey/Gold— Soft out of the box
- Nike Takedown 4 — Total Orange— Forgiving first pair
- ASICS Aggressor Classic — White— Roomy fit for wide feet
- RUDIS Colossus — Black/Inferno Red— Padded collar, low rub
Frequently asked questions
How long does it take to break in wrestling shoes?
Most wrestling shoes are fully broken in after 6 to 10 practices, or about two weeks. Stiff single-sole competition models can take a little longer; soft mesh trainers can feel ready after three or four sessions.
Should I wear new wrestling shoes to live wrestling right away?
No. Wear them for warm-ups and stance-and-motion for the first two practices, drill in them at moderate intensity for the next few, and save live wrestling for the second week once the upper has creased and the heel has seated.
Can you stretch wrestling shoes that are too tight?
Only slightly. Break-in relaxes the upper by roughly a half width, not a half size. If your toes hit the front or the shoe pinches across the forefoot, exchange for a larger size or a wider model instead of trying to force it.
Is it safe to wrestle with a blister?
Only if it's fully covered. Leave intact blisters unpopped and cover them with a hydrocolloid pad; clean and dress open ones before every practice, since mats carry staph and ringworm that enter through broken skin.
Does soaking wrestling shoes in water break them in faster?
No, and it damages them. Water weakens the sole adhesives and stretches the upper unevenly. Heat from your own foot during practice is the only break-in method that preserves grip and structure.
Related models
Hand-picked wrestling shoes that match this guide — tap any model for sizing, specs and photos. See customer reviews →
Ready to gear up?
Browse the latest drops or message us directly for sizing help.
Keep reading
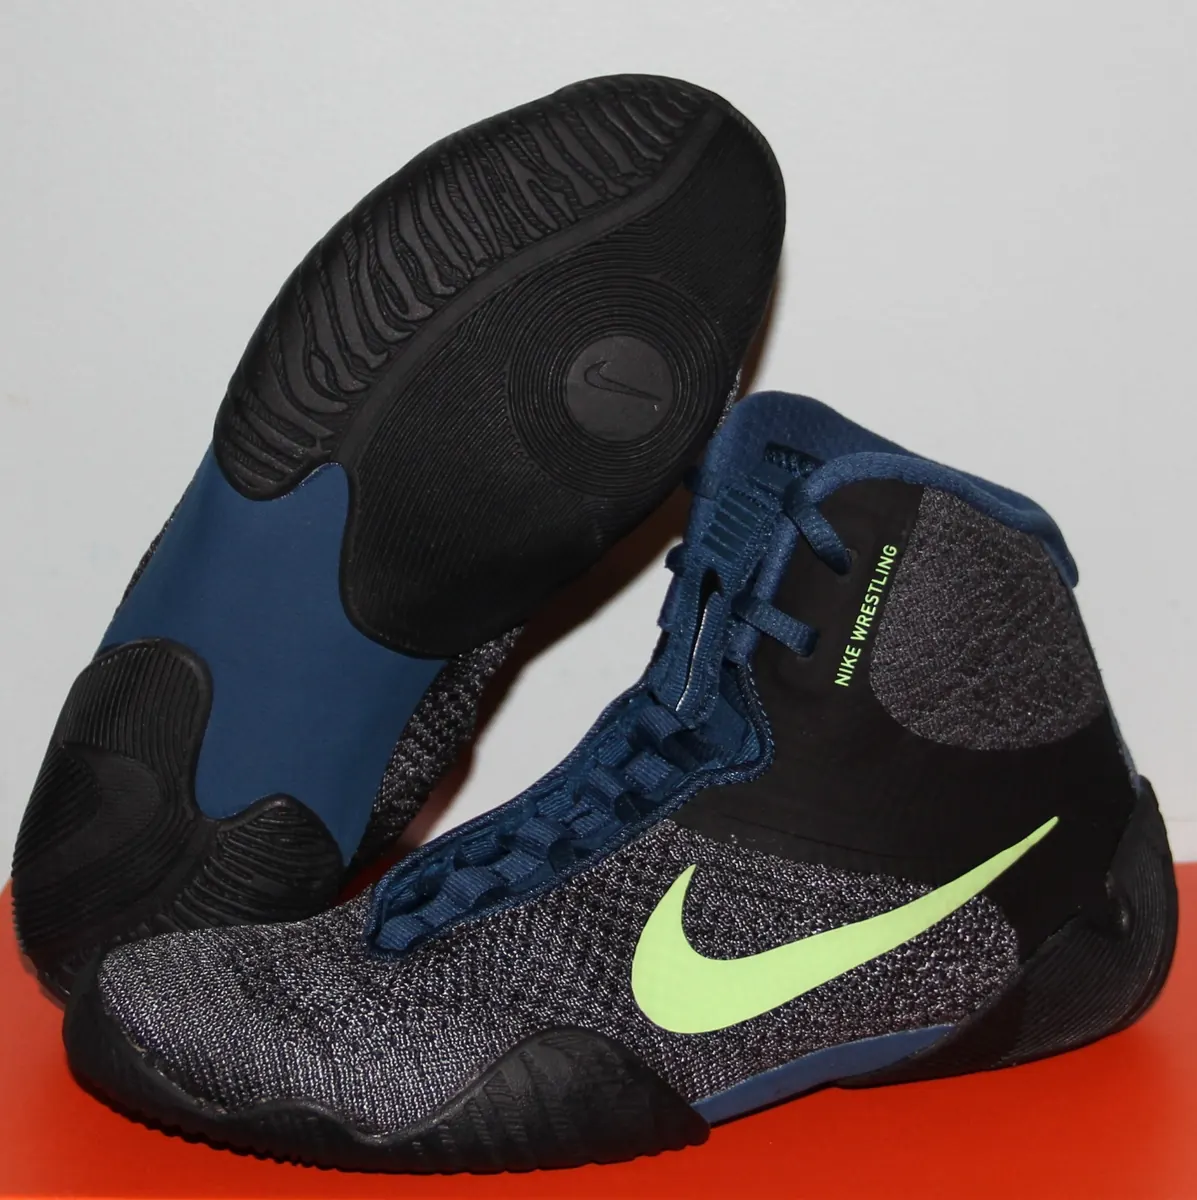
Nike Tawa Wrestling Shoes: Navy/Volt, Fit and Buying Guide
A closer look at our Nike Tawa Navy/Volt listing, Nike's published construction details and the fit questions to ask before buying.
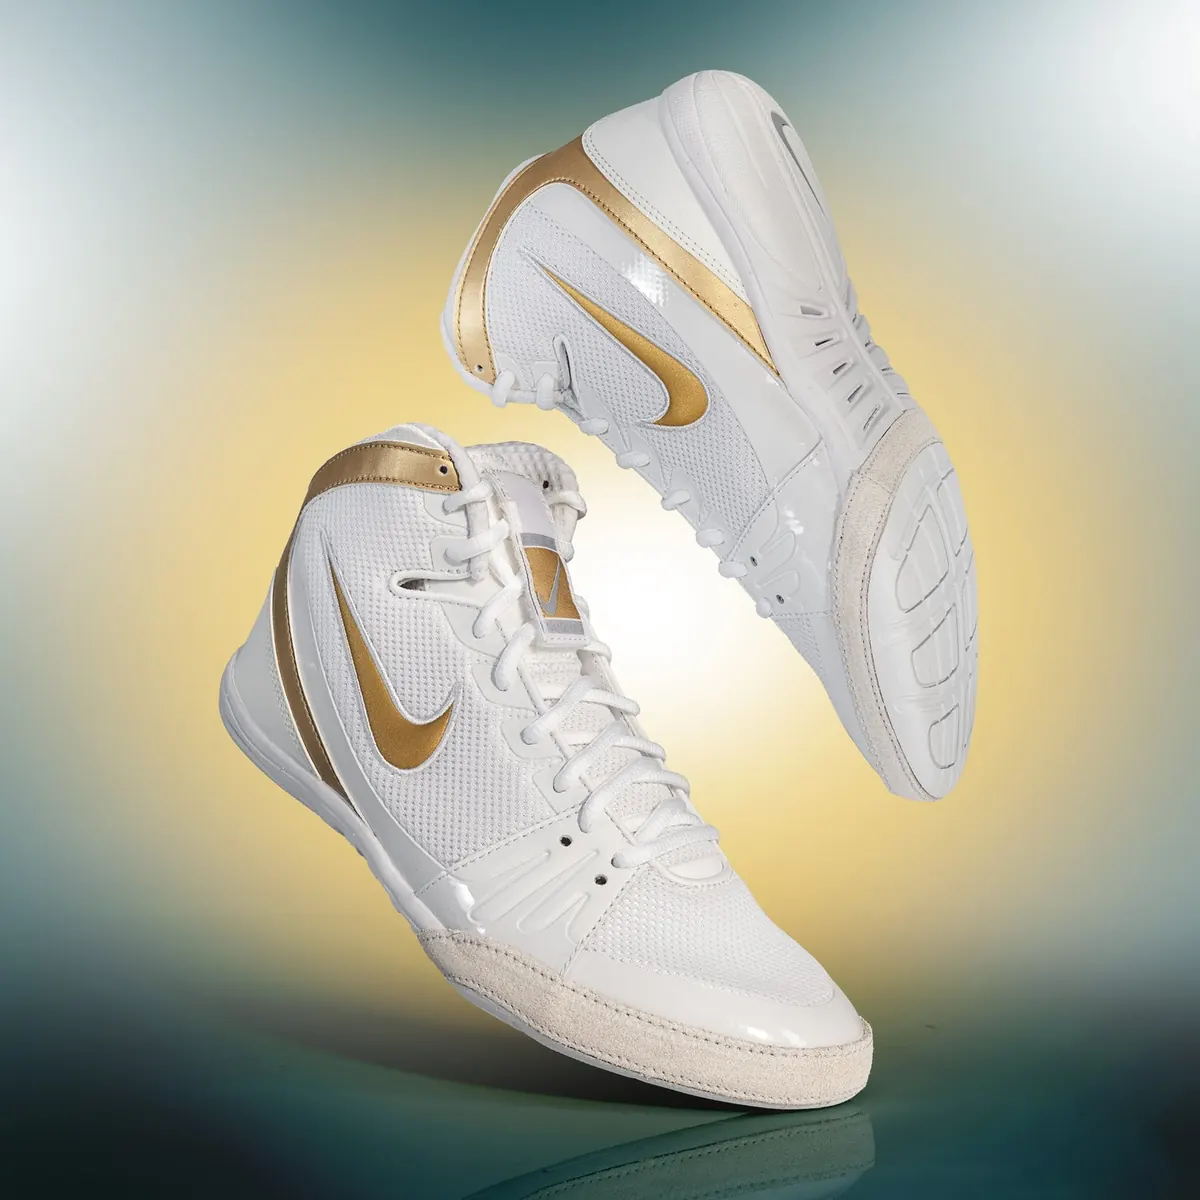
Nike Freek Wrestling Shoes: White/Gold and What to Check
Buying Nike Freek shoes? Compare the actual White/Gold listing and check the edition, size label and order details before payment.